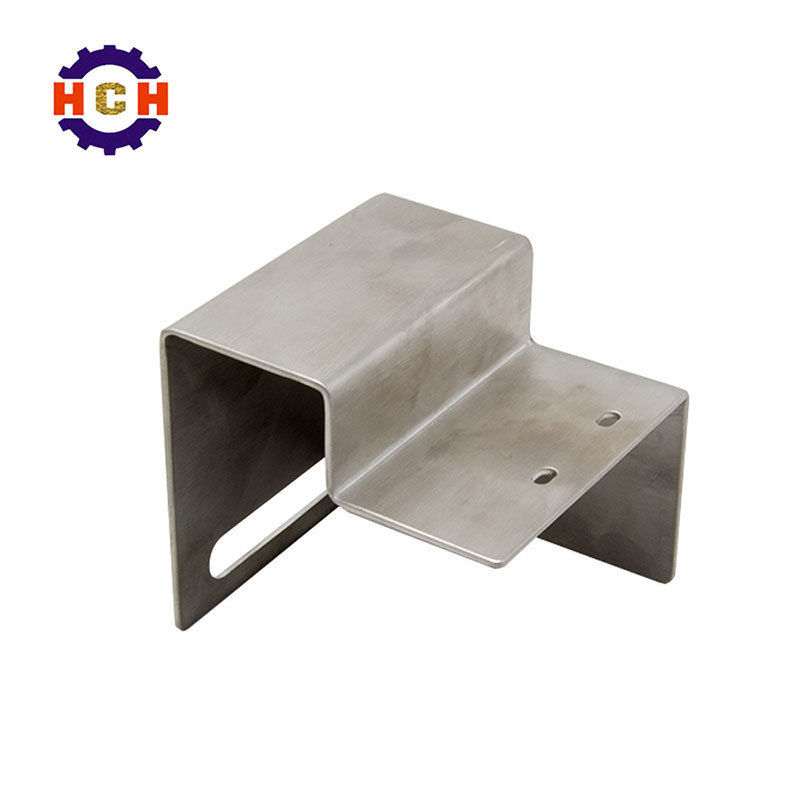
In sheet metal processing, it is one of the basic skills necessary for every technician to read the sheet metal drawings. Whether it is the production drawings in the early stage or the processing of the drawings in the later stage, you can understand the sheet metal drawings. One of the important factors in processing sheet metal parts.
Many of the whites who have just joined the sheet metal industry, facing the sheet metal drawings, seem to be at a loss, what should they look like?
First of all, to understand its construction principle.
The so-called sheet metal processing three-view refers to projecting an object onto a projection surface in a projection system composed of three mutually perpendicular projection planes, the projection on the front side is called a main view, and the projection on a horizontal plane is called a top view. The projection on the side is called the left view, the main view reflects the height and length of the object; the top view reflects the length and width of the object; the left view reflects the height and width of the object.
Secondly, we must master the principle of “long alignment, high level and width”, that is, the method of looking at the view of the combination is the inverse of the drawing.
Drawing is to express a space object in a plane with a set of views. The view is based on a set of views of the object on the plane, by analyzing and figuring out the spatial shape of the object.

So looking at the picture and drawing, the two are closely related and complementary.
Now let's introduce you to two ways to see the three views of sheet metal drawings.
Method 1: Body Analysis
The basics of the picture should be given priority: the combination chart has a third-order law, and it is necessary to contact several views while imagining the actual object. The method and steps of looking at the picture: When looking at the picture by the shape analysis method, the steps of the picture drawing are: understanding the feature grasping the feature; analyzing the shape to the projection; integrating the whole to think about the whole.
Method 2: Line Surface Analysis
For objects with well-defined shapes (such as superimposed shapes), the problem of viewing pictures can be solved by simply using the shape analysis method. When the local shape of an object and an object is relatively complicated (such as a cutting body), it is not convenient to divide it into several components by the shape analysis method, and the line surface analysis method can be used to view the image.
The main points of the line-line analysis method:
The key to looking at the graph using line-and-line analysis is to analyze the spatial significance of each wireframe and each line segment in the view. For a more complex shape, the surface shape should also be analyzed. For example, an object with a bevel (straight face) has a projection that accumulates into a line, and other projections become similar. For a combination of more layers, the wire frame can be used to analyze the mutual position of each surface, and the positional relationship between front and back, up and down, left and right, etc. can be clarified. This comprehensive application of various analytical methods leads to the complete concept of the combination.
The above is the introduction to the three-view method of how to look at the sheet metal processing drawings. Practice and practice more. You will learn soon.